Making milk kefir at home is very simple, in fact I find it the easiest home dairy. It is full of probiotics and many who struggle with cows or goats milk can tolerate kefir as the grains “eat” the lactose making it more digestible. In fact kefir is often touted as a wonder food as it can help many gut conditions and is known to be beneficial to those with eczema and other skin conditions.
 Kefir grains are easy to get hold of online, with lots of online stores specialising in kefir, kombucha, and other starters. I have even bought from eBay before; in fact my most successful grains came from an eBay seller! It is also worth asking around locally to see if anyone has grains as it becomes more popular you may be surprised who has starter cultures to share with you.
Which Milk?
You can use any dairy milk to make milk kefir. Cows, goats, and sheep are the most commonly available in the UK. You can use store bought pasteurised and homogenised milk, or raw milk from a local supplier – all will kefir well provided you give the grains chance to adapt. If you decide to change milk type expect a few batches to not be as great as the grains get used to the new medium.
Equipment for Making Milk Kefir
All you will need to make milk kefir is:
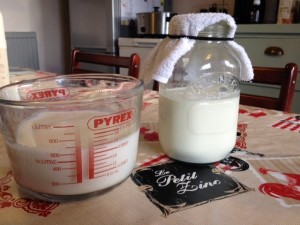
- A glass jar with cover. We use a 1ltr kilner jar with a cloth tied loosly over the top. You don’t want to put the screw top lid on, you want the grains and kefir to breathe – but a light cover stops anything else getting into the mix.
- A wooden or plastic spoon.
- A plastic sieve.
- A container for the fermented kefir.
How to Make Milk Kefir
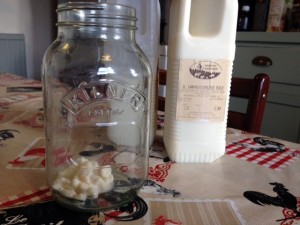
 Step 1: When you receive your grains get them into your glass jar as soon as possible. Usually you will have been given or bought a tablespoon of grains. I work on the ratio of 1 tablespoon of grains to 1 pint of milk.
However, as you get used to you grains and how fast they kefir (each batch has its own quirks) you may well adjust this ratio. To start with just go for 1 tablespoon to 1 pint and pop the cover over the jar. Leave in a warm, but not hot, spot in the kitchen.
Step 2: Swirl, swirl, swirl! I find swirling the grains helps the kefir develop. So each time I pass the jar I give them a little swirl.
 Step 3: After 24 hours you should have a delicious batch of home made kefir. This does depend on a number of factors though. If very warm the kefir will culture faster, if cold it will take a little longer to kefir. If the kefir separates there is no need to worry – you can just stir it back together (or when more experienced with your kefir turn it into delicious kefir cheese).
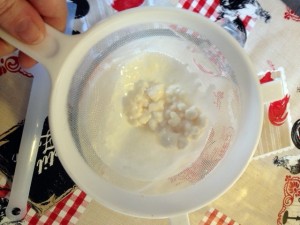
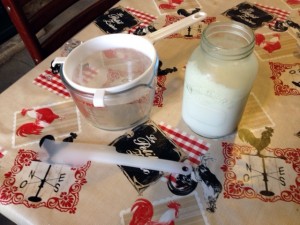
Strain your grains. For this I use a plastic sieve and spatula. It is advisable not to use metal tools or containers with your grains. The strained kefir is ready to be eaten, or you could move onto a second ferment with fruits or herbs. The grains are then ready to go back to Step 1.
How to Eat Kefir
 Kefir is very probiotic heavy. This is a good thing, but due to the lack of probiotics in most people’s diets now please start carefully. For the first week or so have just a couple of tablespoons of your kefir and build up the amount you eat. We now can drink glasses of kefir as our bodies are accustomed to the probiotics, but it took us a few months to build up.
The taste of kefir is slightly tart. A bit like natural yoghurt some people find the taste alone too much and want some added sweetness. You could pour over berries, add the kefir to a smoothie, or if eating straight away drizzle a little raw honey into it.

